Every play in a volleyball game starts with a serve. But that doesn’t mean that ever serve has to be a nice and easy start to the play. The serve is actually a very strategic opportunity to throw your opponent off their game, and to try to keep the momentum of the play to your team’s advantage.
The key to using the volleyball serve to your advantage is to have a strong, consistent, reliable serve that puts your team into a good scoring opportunity.
Every serve has one of these outcomes:
- You score a point directly: an ace!
- You start the play
- You lose a point by missing your serve
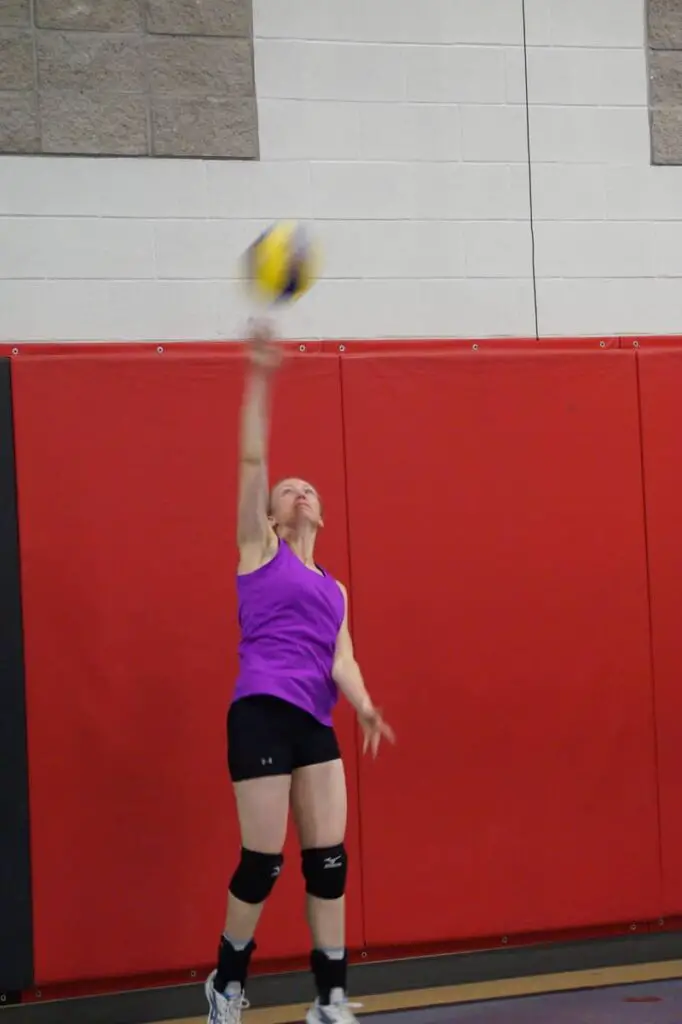
While it’s great to aim for getting an ace with each serve, starting the play with a solid serve is also a pretty good outcome, and one that will probably happen most often. You can get strategic with your serve as well, but you definitely want to avoid missing your serve, as you’ve now also lost a point for your team.
Find out more about the different types of volleyball serves, basic serving rules you should know, and some volleyball serving tips that will help you ace your game.
1. Types of Volleyball Serves
For beginners, there’s really two types of serves: underhand or overhand. Once you get into more competitive volleyball, you’ll start to see some more sophisticated types of serves, such as the jump serve, float serve, and topspin. All of these types of serves take a good amount of practice to get consistent in.
Underhand serve
An underhand serve is usually the first type of serve a person learns when they start playing volleyball. It doesn’t take as much power as an overhand, it can be easier to aim (especially when just starting out) and there’s no toss, which can keep things a bit easier as well.
The starting position for an underhand serve is to have your non-dominate foot out in front, kind of like you’re taking a step. Hold the ball in the palm of your non-dominate hand, just out in front of them, and lean forward slightly.
For a right-handed player, hold the ball in your left hand, because you’re going to swing with your right. Your right hand is down by your side, with the hand balled into a fist, and the heel of your hand facing forward. The ball should be at about the height of your mid-thigh.
Keep your right arm straight, with just a slight bend in the elbow. As you step forward with you left foot, simultaneously swing at the ball with your right hand, contacting just below the middle of the ball with the heel of your right hand. This will give the ball an upwards trajectory so it goes over the net.
Many players forget to follow through on their swing, which is just as important in an underhand serve as it is for an overhand serve. This just means that you should keep swinging your arm even after you’ve contacted the ball, until it comes to a more natural ending. If you end your swing as soon as you hit the ball, you miss out on some of the power.
When just starting out, many players keep an eye on the ball to make sure they’re contacting it just below the middle. However, with more practice, a player should keep their head up, looking forward to where they want the ball to go.
Many people think that because most beginners start volleyball by learning an underhand serve that it’s a basic or easy serve. This isn’t necessarily true! Many players really perfect their underhand serve, and can get really good accuracy, speed, and even float. Don’t ever under-estimate an underhand serve!
Overhand Serve
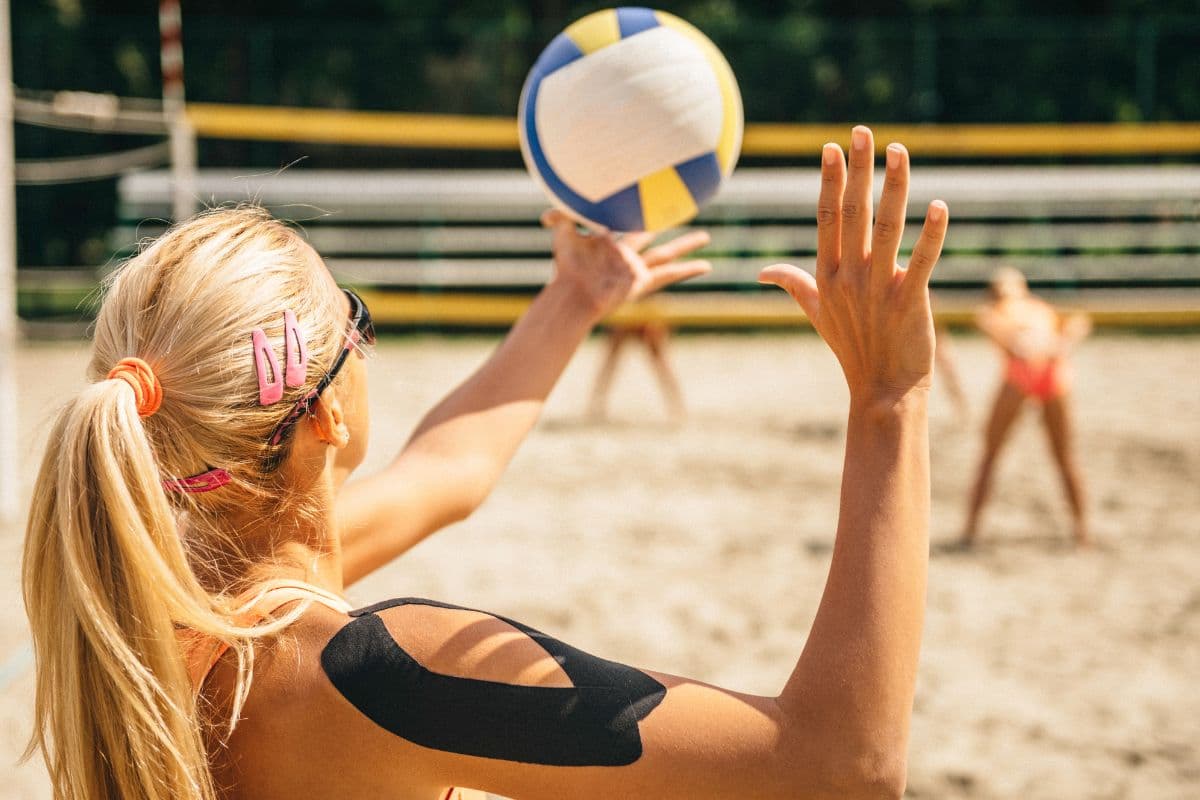
An overhand serve means that you’re contacting the ball over your head. There’s a little more technique and power required with an overhand serve, which is why most players start out serving underhand. Having said that, there are some players who start serving overhand right away. If you get the technique, you actually don’t have to have a ton of power.
What I’ll outline here is the basic technique for an overhand serve, but you’ll probably notice that players will have slightly modified versions of this basic technique. That’s okay – start with this basic technique, then modify it if something works better for you. As long as you’re getting the results you want, and you’re not getting a ball handling violation, go for it!
Start by taking a step forward with your non-dominant foot, and your dominant foot behind you, with your foot at about a 45-degree angle. Your hips should be angled slightly as well. So, for a right-handed player, your left foot should be in front and your right foot behind. For a left-handed player, your right foot would be in front, and your left foot behind.
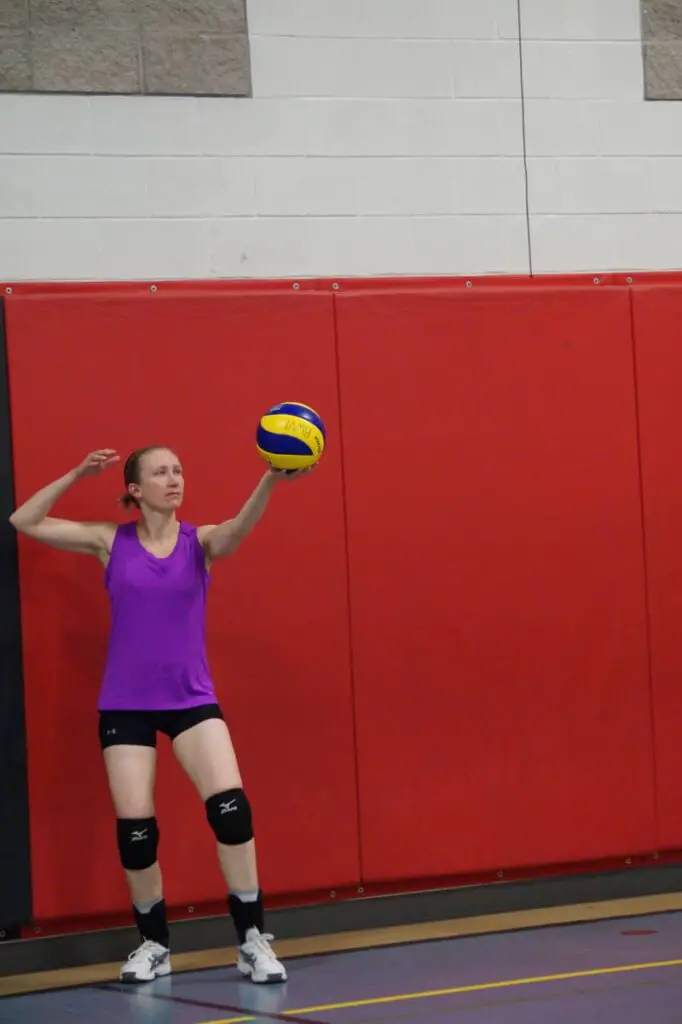
Hold the ball in your left hand, with your left-arm straight out in front of you and lined up with your left shoulder. Bend your right arm, bringing your elbow back behind your right ear, really opening up your chest by bringing your right shoulder back as well. (Opposite for a lefty).
I’ve heard two different analogies used here: either think of how you would place your arm if you were going to throw a ball, or think of drawing your elbow back like a bow and arrow. I personally like thinking of the bow and arrow, because it really makes me draw back my shoulder as well.
The power for an overhand serve comes from both your arm swing, and the step forward that you’ll take. But before the arm swing, comes the toss.
The toss is arguably the most important part of an overhand serve. Toss it too far back, and you’ll have to arch your back and lose some of the potential power from your lack of arm swing and step (as well as increasing the likelihood of injury to your back).
Toss it too far forward, and you’ll also lose some power because you won’t get a full and complete arm swing – instead, you’ll have to adjust quickly to try to just make contact with the ball.
Some players use a one-handed toss, and some use a two-handed toss. I personally prefer the one-handed toss for two reasons: 1) I feel like I have a bit more control over the toss itself – it actually feels more like you’re lifting the ball up into the air; and 2) it gives me the opportunity to draw my swinging arm back into position sooner, so that I feel more ready to swing at the ball.
Try both, and go with the one that feels best for you.
To be honest, it doesn’t really matter if you’re using a one or two handed toss – as long as it’s consistent. You’ll want the toss to be about three to four feet in the air, and it should be in front of your swinging arm – not directly in your midline.
It should also be about one to two feet in front of you, so that you’re making contact when your swinging arm is fully extended about 45 degrees in front of you. You’ll also need to account for the step forward you’ll be taking at contact.
Okay, so now you’ve perfected your toss. As I said, the power for your serve comes from both your arm swing and taking a step forward. The step comes from the foot in front, so your non-dominant foot. So for a right-handed player, as you’re swinging your right arm, you’re stepping forward with your left foot. It’s a very similar motion to throwing a ball.
You’ll want to contact the ball with a nice open palm, ensuring good coverage of the ball with your palm and five fingers.
And don’t forget to follow through on your swing! Don’t stop your arm swing as soon as you make contact with the ball – continue swinging that arm until it comes to a natural stop. A full arm swing gives you more power.
Jump Serve
Many competitive players will progress from an overhand serve to a jump serve. The advantage of a jump serve is power and speed. You’re putting way more momentum and power into hitting the ball, so naturally it’s going to go faster and be harder.
A jump serve is very similar to a hitting approach, so you’ll need to give yourself enough room so that you’ll be taking off behind the court boundary line. You’ll be taking at least three to four steps, so this will vary for each player, but try for at least five to ten feet.
Many players find it easier to toss the ball with their swinging arm, as it’s easier to target the ball to be in line with your swinging arm. Your toss will be much higher than with an overhand serve, but the timing is much more crucial – you’ll need the toss to be high enough so that you’re contacting the ball at the peak of your jump. Some players will also use a two-handed toss.
The toss should also be well in front of you, taking into consideration that you’ll be moving forward with your hitting approach, and lined up with your hitting arm.
Start by taking a step forward with your dominant foot, and tossing the ball into the air. You will then quickly take three more steps, speeding up each step, and jumping into the air with the third step. This approach is similar to the hitting approach when spiking at the net.
At the same time as you’re taking those steps, you’re also swinging BOTH your arms down and backwards, helping to build momentum for your jump. Then swing both your arms up in front of you, and with your dominant arm, pull your elbow back. This action is similar to the overhand serve, when you’re swinging at the ball and contacting it above your head, slightly in front of you.
Contact the ball at the peak of your jump, to get maximum power and speed. You’ll gain momentum from your jump and your arm swing, so use that to your advantage. Also, make sure you follow through your arm swing, as this will also give you added power.
Make sure that you start your jump before the court boundary line, as the rules state you have to contact the ball before you enter the court area. You are allowed to land your jump within the court area.
Topspin and Float serves
When doing either an overhand or jump serve, a player can also hit the ball a certain way to either put top spin on it, or cause it to float through the air.
The advantage of a topspin serve is that it’s fast, and it drops quickly. This will throw off the passers, who may not be expecting it to drop so suddenly. As the name implies, this dropping effect happens because the ball is spinning through the air so rapidly. Think of the ball spinning TOWARDS the opposing team.
When hitting a topspin serve, contact the ball slightly below its centre, so that you’re hitting it in a slightly upwards rolling motion when you make contact, starting the spinning effect. Think of hitting the ball from the bottom to the top (though you don’t actually want to go that far), and that the ball is spinning TOWARDS the opposing team. Also, snap your wrist, which will cause even more of the spin.
A good float serve will actually float slightly from side to side as it comes over the net. This is a very tricky serve to pass, because you line up to where you think the ball is going, and it actually shifts slightly to the side.
To get the ball to float, toss the ball so that it has very little spin. Also, contact the ball using a nice firm hand, lining it up so that the base of your fingers are contacting the midline of the ball. You don’t need a full follow through for a float serve – because your goal is to have as little spin as possible, you want to contact the ball as little as possible. To do this, you’re kind of smacking the ball with your firm hand, which will minimize any spinning.
2. Volleyball Serving Rules
Regardless of the type of serve you choose to do, these rules remain the same for all players. Here are some common questions about volleyball serving rules:
How much time do you have to serve the ball?
You have eight seconds from the time the ref blows the whistle to the time you contact the ball for service.
What is a foot fault in volleyball?
You must start your approach behind the court boundary line, and can only come into the court area AFTER you’ve made contact with the ball. A foot fault is when you step over the court boundary line BEFORE you’ve made contact with the ball.
For an underhand or overhand serve, this is pretty easy to control, because you’re only taking one or two steps – but foot faults still do happen.
With a jump serve, make sure you’re giving yourself enough room to do your full approach. You need to start your jump outside the court, but you are allowed to land inside the court.
I’ll be honest, it’s a pretty embarrassing call to get a foot fault violation, mostly because you have FULL control of where you’re starting your approach from. The best way to avoid getting a foot fault violation? Practice your serve until you know exactly how much room you need for your serve, then give yourself a few inches of leeway. Even with tons of practice, you will still have the occasional bad toss, and will need to reach for the ball. Click here for Can You Switch Hands While Serving a Volleyball?
How many times can I toss the ball before I serve it?
You are only allowed one toss – so make it count! Volleyball rules used to allow for a second toss, but that changed in 1998. You are also not allowed to catch your volleyball serve toss to try again.
Players are allowed to dribble the ball, or move the ball from one hand to another.
Can the ball hit the volleyball net during a serve?
Another significant volleyball rule change around that same time was allowing the let serve. Prior to 2000, if a ball that was served touched the net, but still traveled over the net, it was considered a fault and a sideout for the other team. However, the rules changed in 2000 to allow a served ball that touches the net but still travels over to be considered in play. This was primarily to speed up the game.
What is screening in volleyball?
Screening is when the five players on the serving team set themselves up when their sixth teammate is serving so that they’re blocking the view of the team that is passing the ball. They may be blocking either the server or the flight path of the ball, or both.
Screening tactics include standing too close together, standing at certain angles, waving their arms, jumping, or moving from side to side.
Screening calls are very much judgement calls on the referees part, as it’s all about angles and the view that the passers have, which the referee is trying to assess from a different vantage point. While screening does happen strategically in very competitive volleyball, in recreational volleyball it’s usually less common.
Can you overhand serve with a fist in volleyball?
The rules don’t prohibit you from serving overhand using a fist, however it’s considered really bad technique. Using an open palm gives you way more control and aim. It also gives you the ability to switch from a topspin to a float serve, or to switch from serving shorter or deeper into the court.
Although some players might say they get more power using a fist, you’re really going to limit the variety of serves you can do. It’s best to try to work on using an open palm for your overhand serve. It may be harder in the beginning, but you’ll be thankful for the ability to do a variety of overhand serves.
Can you block a serve in volleyball
No, USA volleyball rules clearly state that blocking a serve is not allowed.
Can you spike a serve in volleyball
No, USA volleyball rules also clearly state that a player is not allowed to attack hit a ball that has been served.
3. Volleyball Serving Tips
Now that you know the different types of serves and serving rules, you can start to work on different tips and strategies for your serve.
Practice a variety of different serves
Don’t rely on just one type of serve. If you can serve underhand, work on your overhand serve. You don’t necessarily have to work all the way up to a jump serve, but try practicing both a topspin and a float serve. Being able to do a variety of serves comes in handy, depending on the different teams you’re playing.
Always take your time
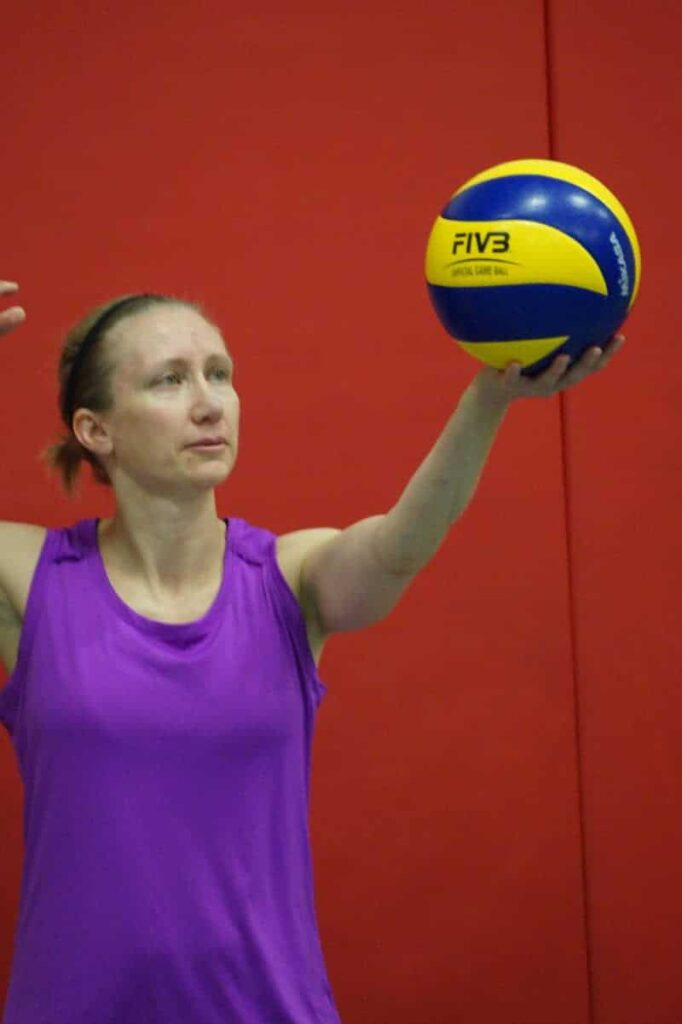
The serve is the only time in the game when you start with complete control over the ball. Don’t rush. Eight seconds is a long time. If you’re a nervous server, take this time to calm yourself down, and focus on the ball and your technique. Click here for 10 Volleyball Serving Tips for Beginners
If you’re a more advanced server, take this time to think about where you want to aim the ball.
Develop a serving ritual
Many players develop their own unique serving ritual that may include a certain number of bounces, or spinning the ball, or even just finding the valve before they hit the ball. This helps to calm down and focus the player before their serve.
The serving ritual also helps the consistency factor of a serve technique. Every serve that you do should look the same as the one you just did – consistency is a critical factor in your serve technique. By starting your serve with a specific, unique ritual, you start building on the consistency of your serve before you even toss the ball. It really helps with the mental aspect of the serve.
Understand the other team’s weaknesses
Some teams struggle with deeper serves, some teams struggle with shorter serves. With every team you play, take the time to understand their weaknesses, and where you should aim your serve to give your team the most advantage.
Serve with purpose
While the purpose of a serve is to start the volleyball play, it’s also an opportunity to give your team a competitive advantage. If the opposing team can’t get a good pass, they’re less likely to get a good hit out of the play. So, start with a strategic serve that’s placed well, which will hopefully prevent the other team from setting up an attack.
Get to your defensive position fast!
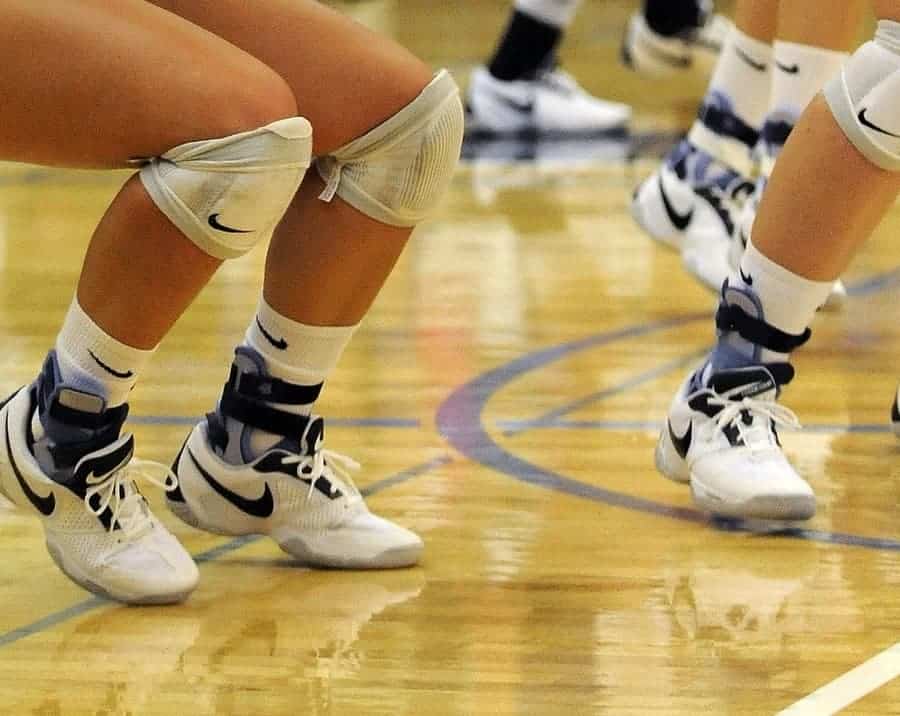
While it may be tempting to take your time to admire the float serve you’ve been trying to perfect, don’t forget that the play has now started, and your next job is now defense! The transition from being a server to being a defensive player happens FAST, so make sure you get to your defensive position as quickly as possible.
Practice, practice, practice!
The best way to improve your volleyball serve is to practice it, over and over again. Every type of serve that you do should be consistent – that is, it should look the exact same every time you do it.
Click here for how to practice volleyball by yourself
Get someone to help you
While consistency is the key, you don’t want to keep making the same mistakes over and over again. If you know someone that has a good volleyball serve, ask for their help on working on your serve. If you don’t know someone, watch videos on YouTube – there’s lots out there, specifically for each type of volleyball serve.
You could also record yourself, so that you can see which parts of your serve might need work. There’s no better way than seeing yourself on video to see where you need to improve.
Work on practicing your serve so that it’s consistent, strong, and reliable, and you’ll have a great addition to your volleyball skill set! You may not serve aces with every serve, but you’ll definitely start off each play strong.

Leave a Reply
You must be logged in to post a comment.